Installation & Getting Started
Get Nile Local up and running in minutes
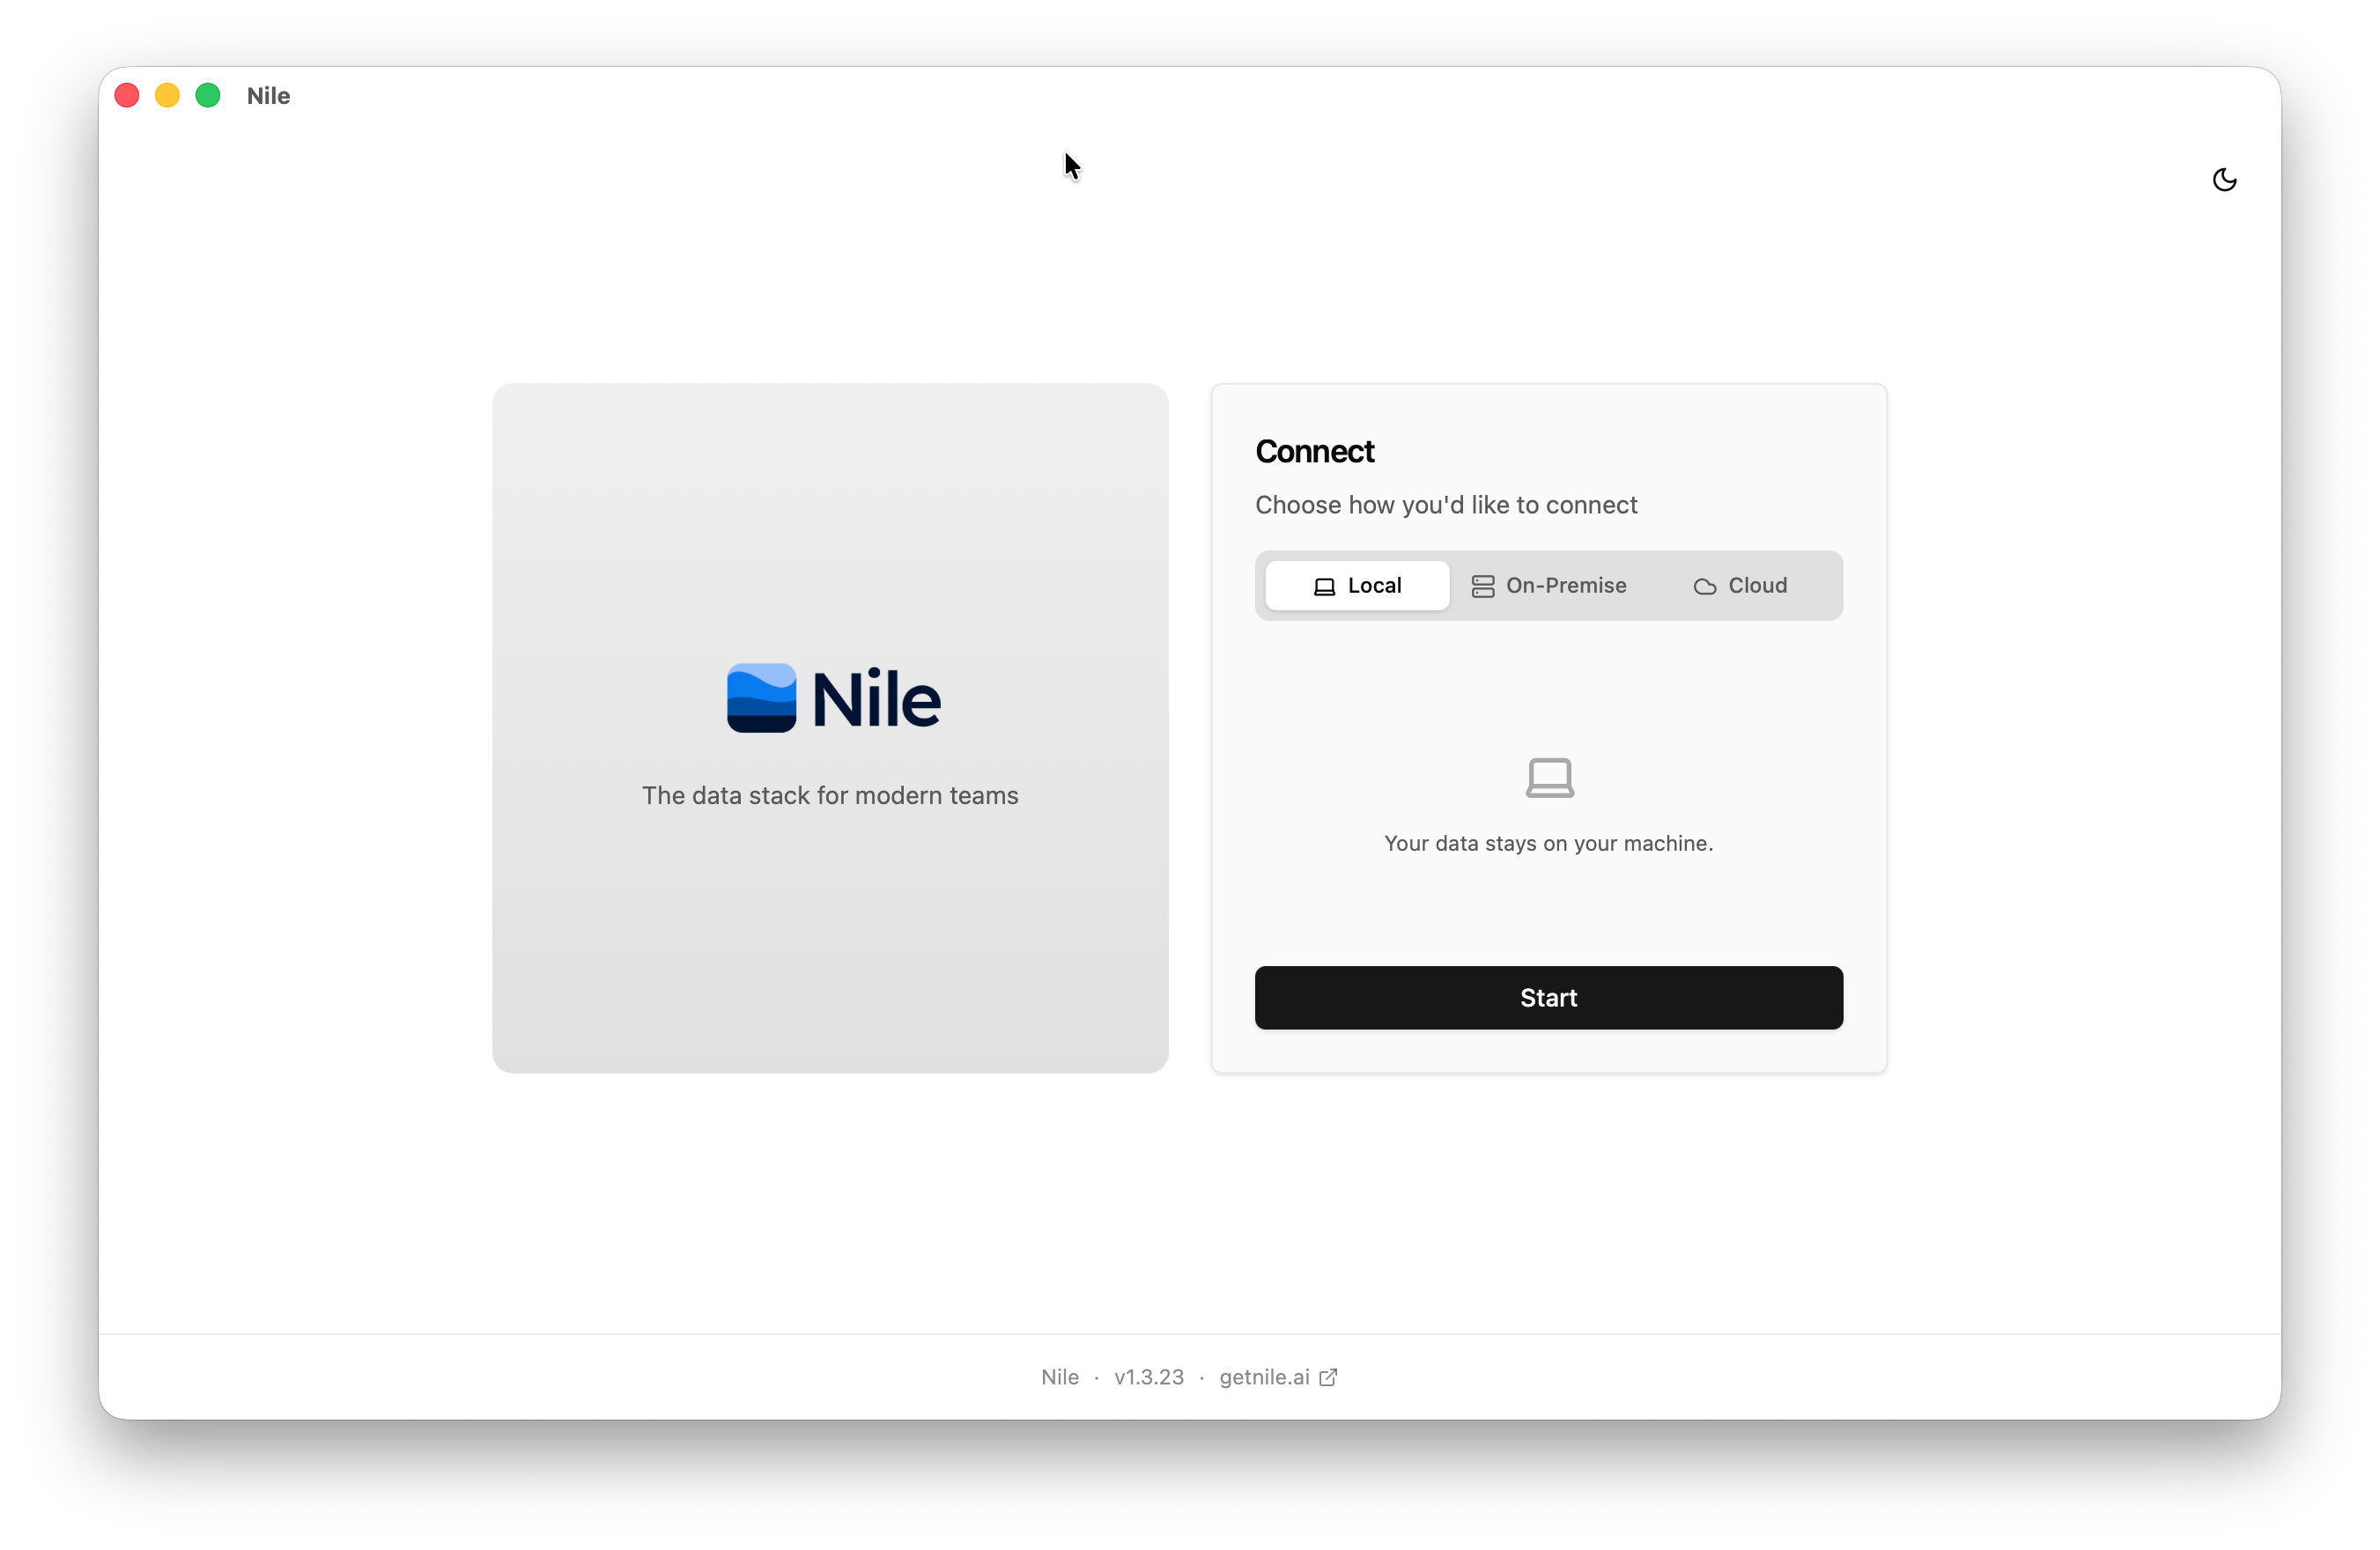
1Download Nile Local
Download Nile Local from getnile.ai/downloads. Available for macOS and Windows.
2Run the Installer
Nile Local sets up local storage and compute automatically. There are no dependencies to configure manually. Once installed, you can start querying immediately — but you'll need some data first.
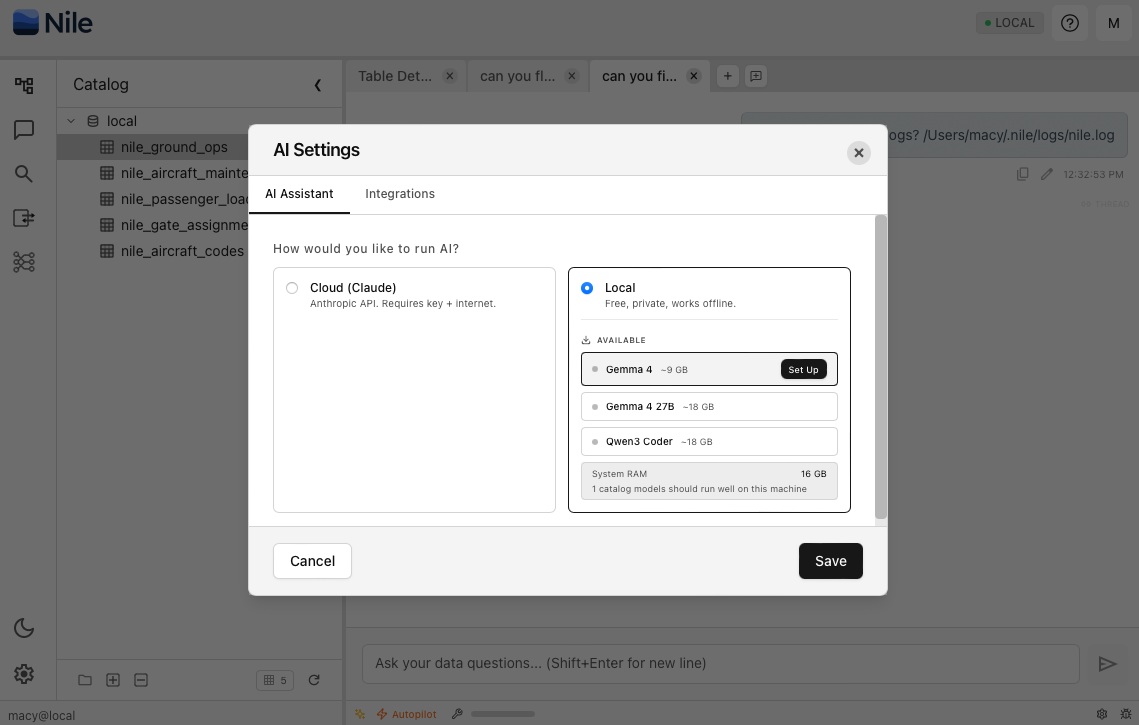
3Connect an AI Model
In the chat UI or Settings panel, select a local LLM to load, or bring your own API key for a cloud model. Nile uses the connected model to answer questions about your data, build datasets or ETL pipelines, import data from external sources, and more.
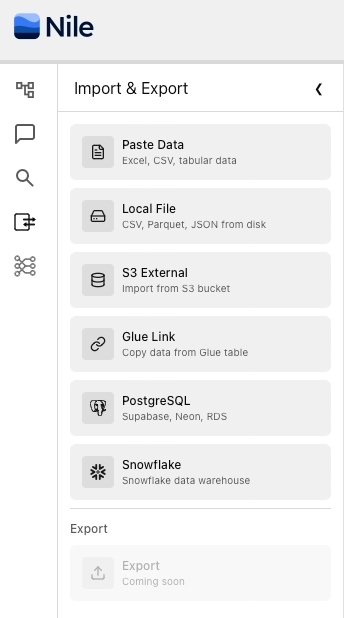
4Import Your First Data Source
Paste data from your spreadsheets, drag and drop local files (CSV, Parquet, JSON, and more), provide a database connection string, URL, or cloud bucket. You can ask AI to handle the import or do it yourself via the Import UI in the left navigation bar.
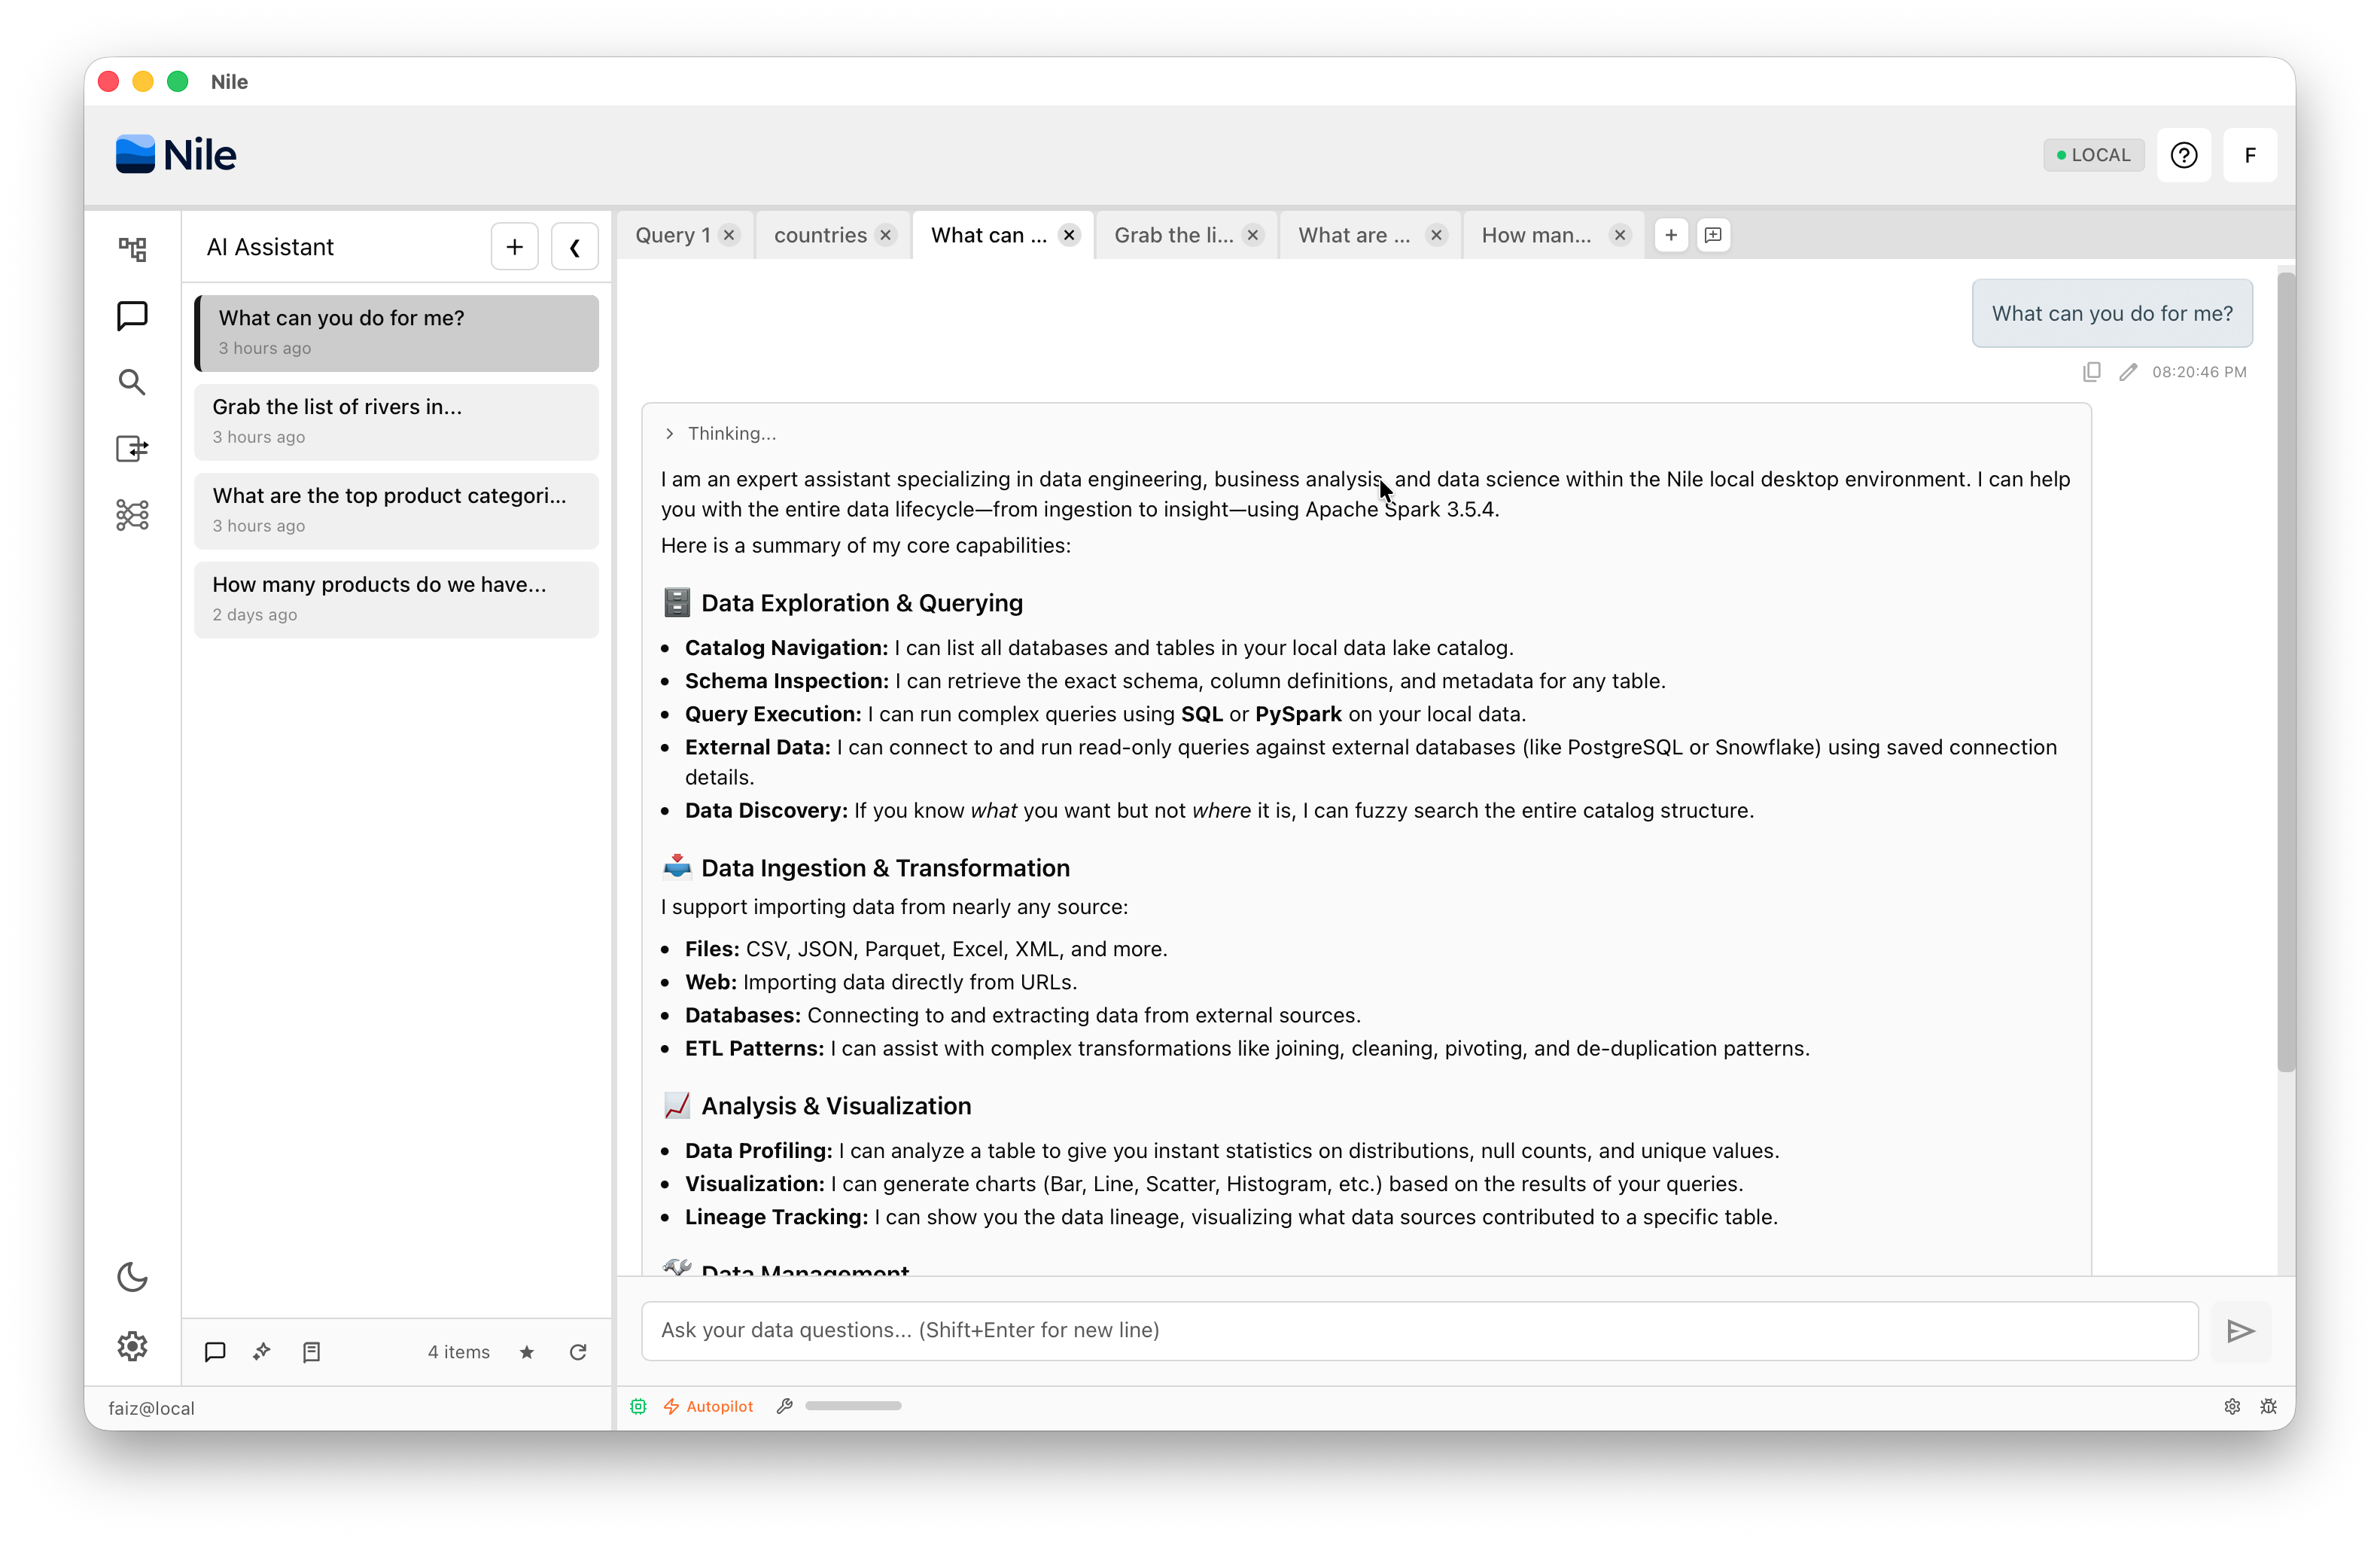
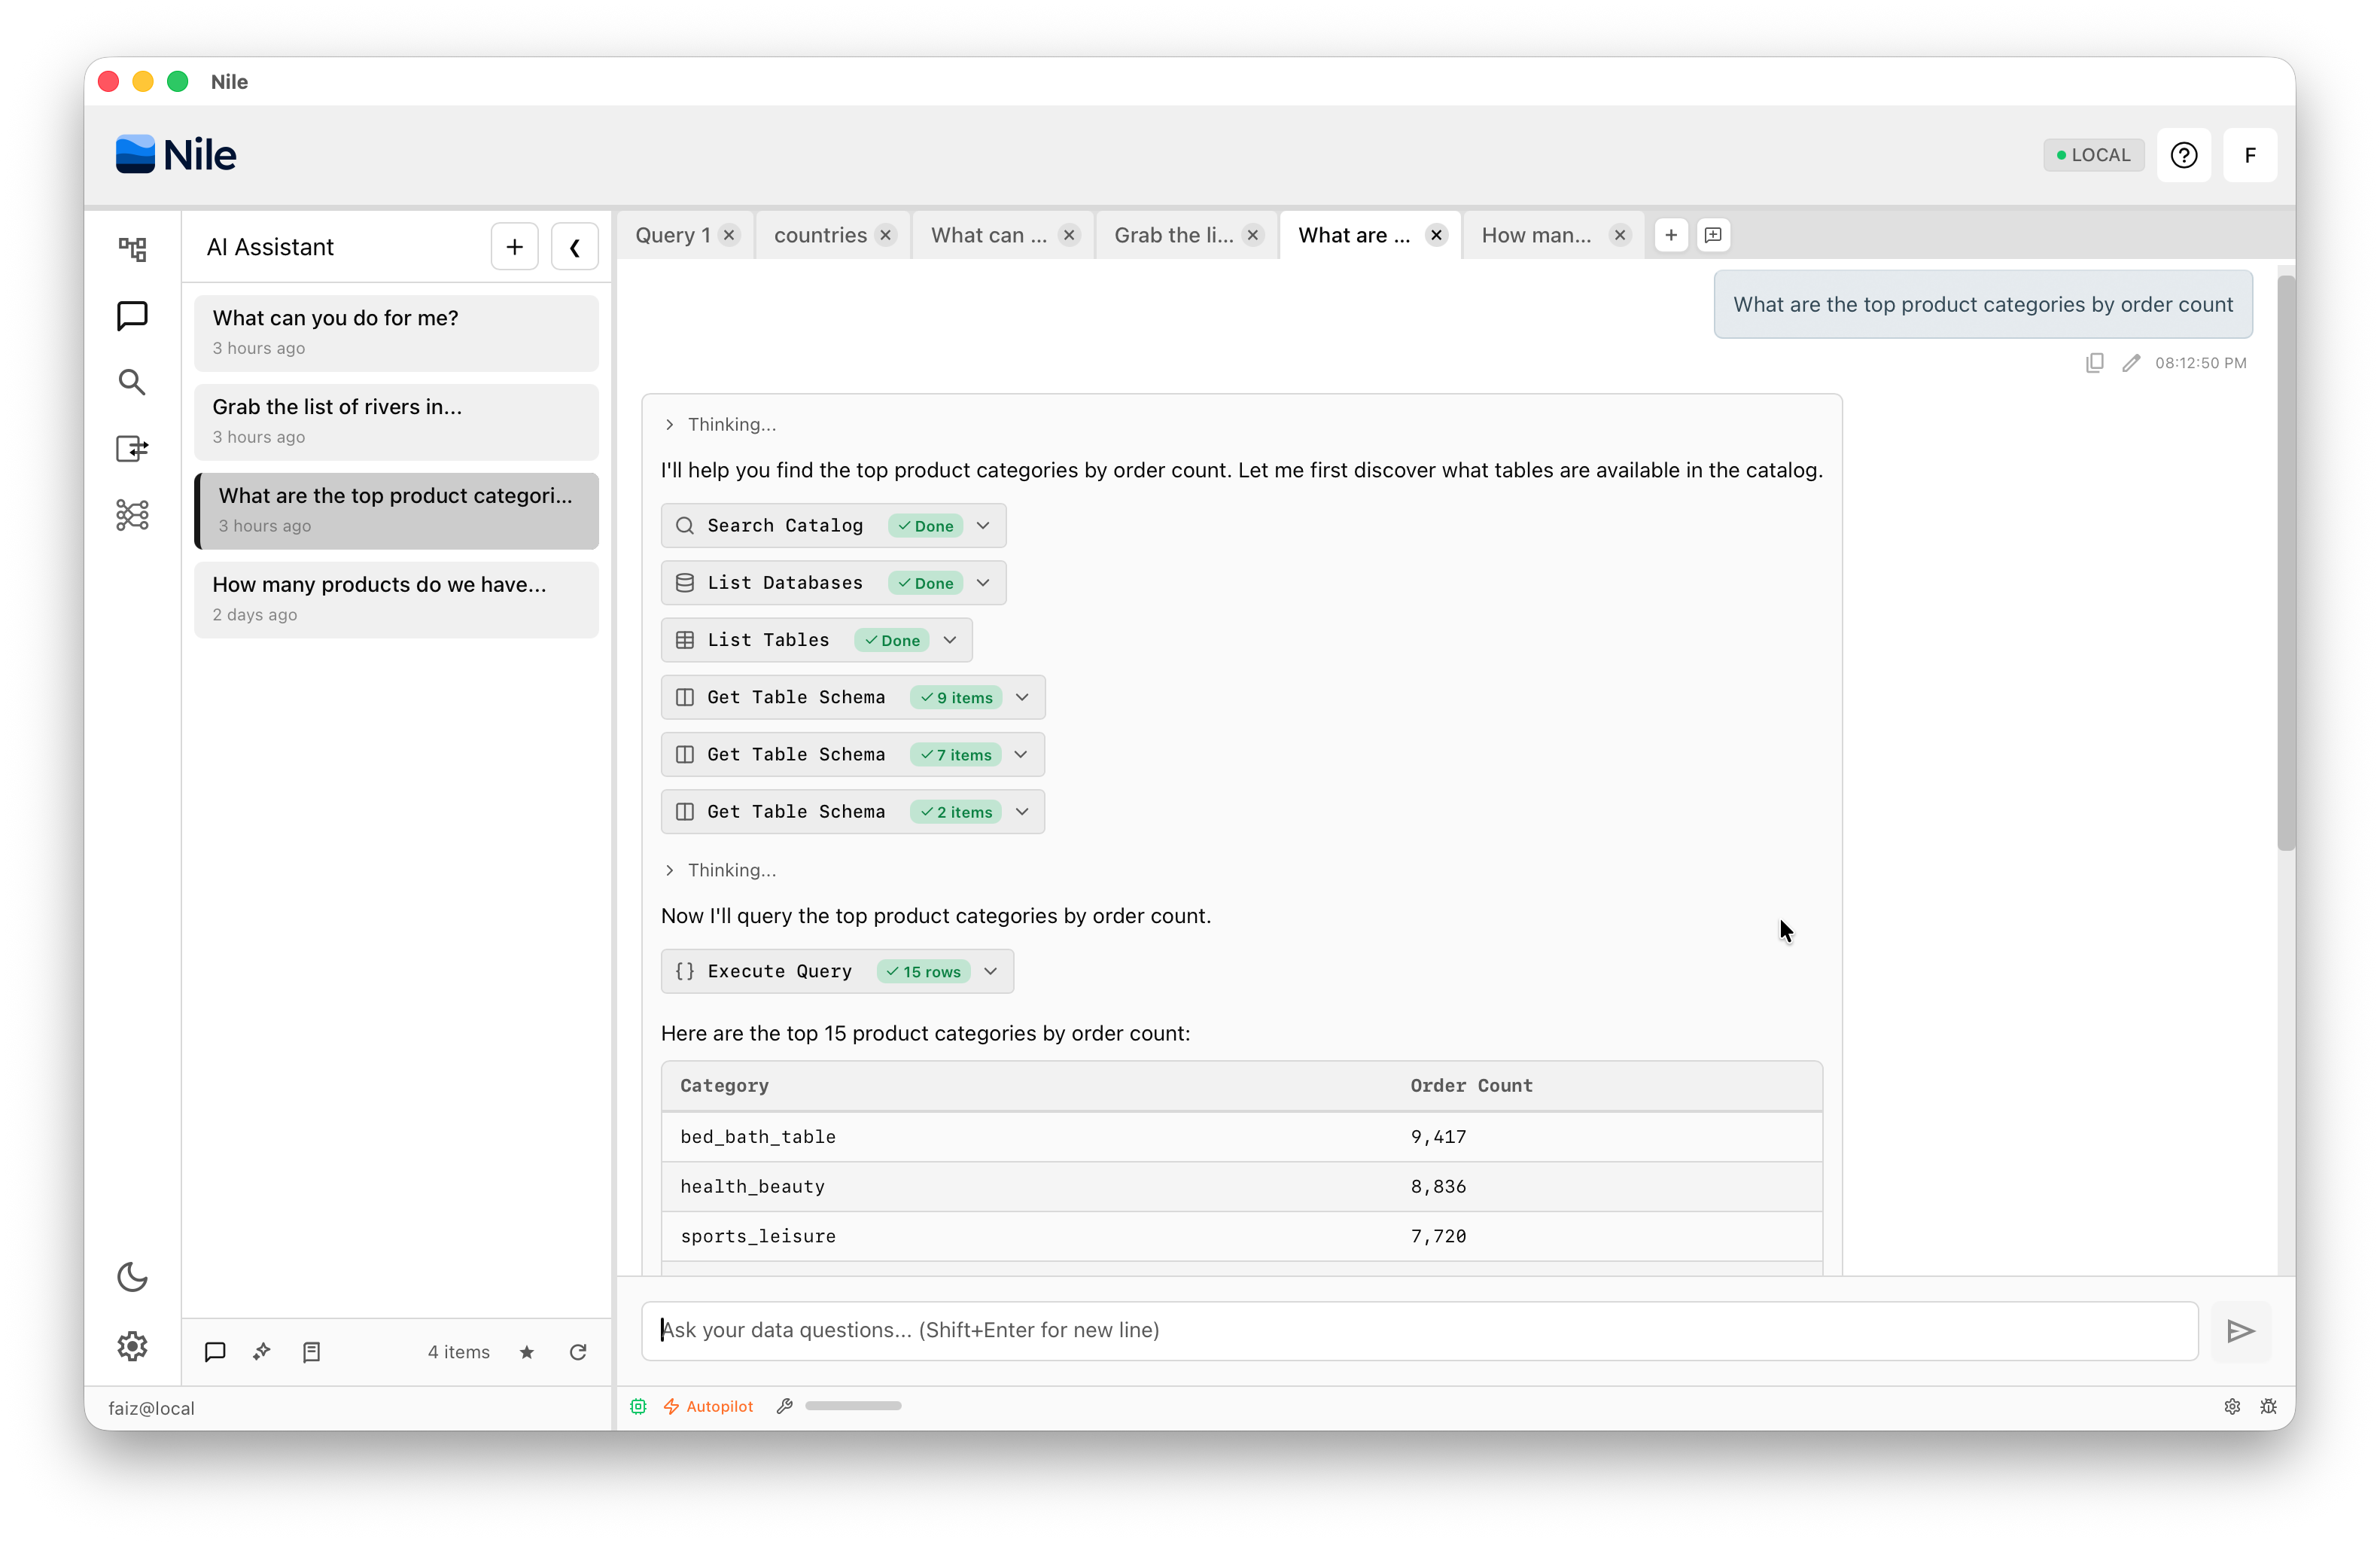
5Start Querying
Ask Nile business questions about your data — no need to explain where the data lives, AI knows and can find it on its own. You can also ask AI to discover data outside your catalog, import data from a wide variety of sources (such as the web, CSV, Excel, and more), or create new data pipelines.
If you run into anything — broken installs, confusing behavior, or missing docs — contact us, raise an issue, or join the discussion on Discord.